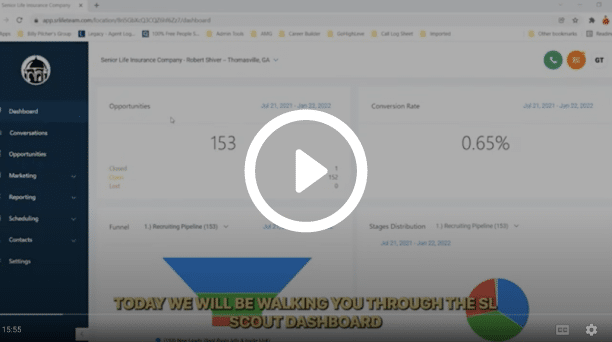
Recruiting Portal Walkthrough

Please watch the video above to see a full walkthrough of our recruiting portal. To view a step-by-step guide, please click on the button below to download our Recruiting Portal Tutorial PDF.
Recruiting Portal Walkthrough FAQ
The recruiting portal works by automatically importing recruits the second that they apply to work with you through one of your campaigns. Upon being imported into the system, the recruit is sent a link to book an interview with you. When they click on the link, they'll be required to watch a quick, 90-second video explaining the opportunity to them.
After the video is finished, they'll be redirected to a page where they can book their interview. Once they've booked their interview, they will be redirected to a pre-interview questionnaire to fill out before their interview with you.
Yes! Please refer to the user guide (see page 16) or our video walkthrough for exact instructions on how to integrate & sync your Google calendar with the recruiting portal.
You can find your calendar by clicking the "Scheduling" tab and then the "Calendar" link.
For this, please make sure that you're on your agency's calendar. You can check if you're on your agency's calendar by clicking on the "Scheduling" tab, then the "Calendar" link.
At the top, there's a dropdown. The default is "My Calendar." You'll need to click this & swap it to your agency's calendar instead.
If you have a period of time that you need to block off, you can double click or tap on your calendar. This will generate a "Not Available" box.
Drag either end of the box to cover as much time as you need to block out. Prefer refer to the user guide for images related to this process (page 13).
Yes! Although these templates won't be a part of the automation (meaning that they won't automatically be sent out to recruits), you can create templates for content that you usually share with your recruits.
For example, if you host webinars, you can create a webinar template that includes the webinar link. To do this, go to the "Settings" tab and click on "Templates."
Your recruits will see whatever phone number that's been set up through your Twilio account.
You can adjust your normal hours of availability by going to the "Settings" tab and then clicking on "Calendars." Click the three dots next to your agency's calendar, and then click "edit." Update the form that pops up with your preferred settings.


